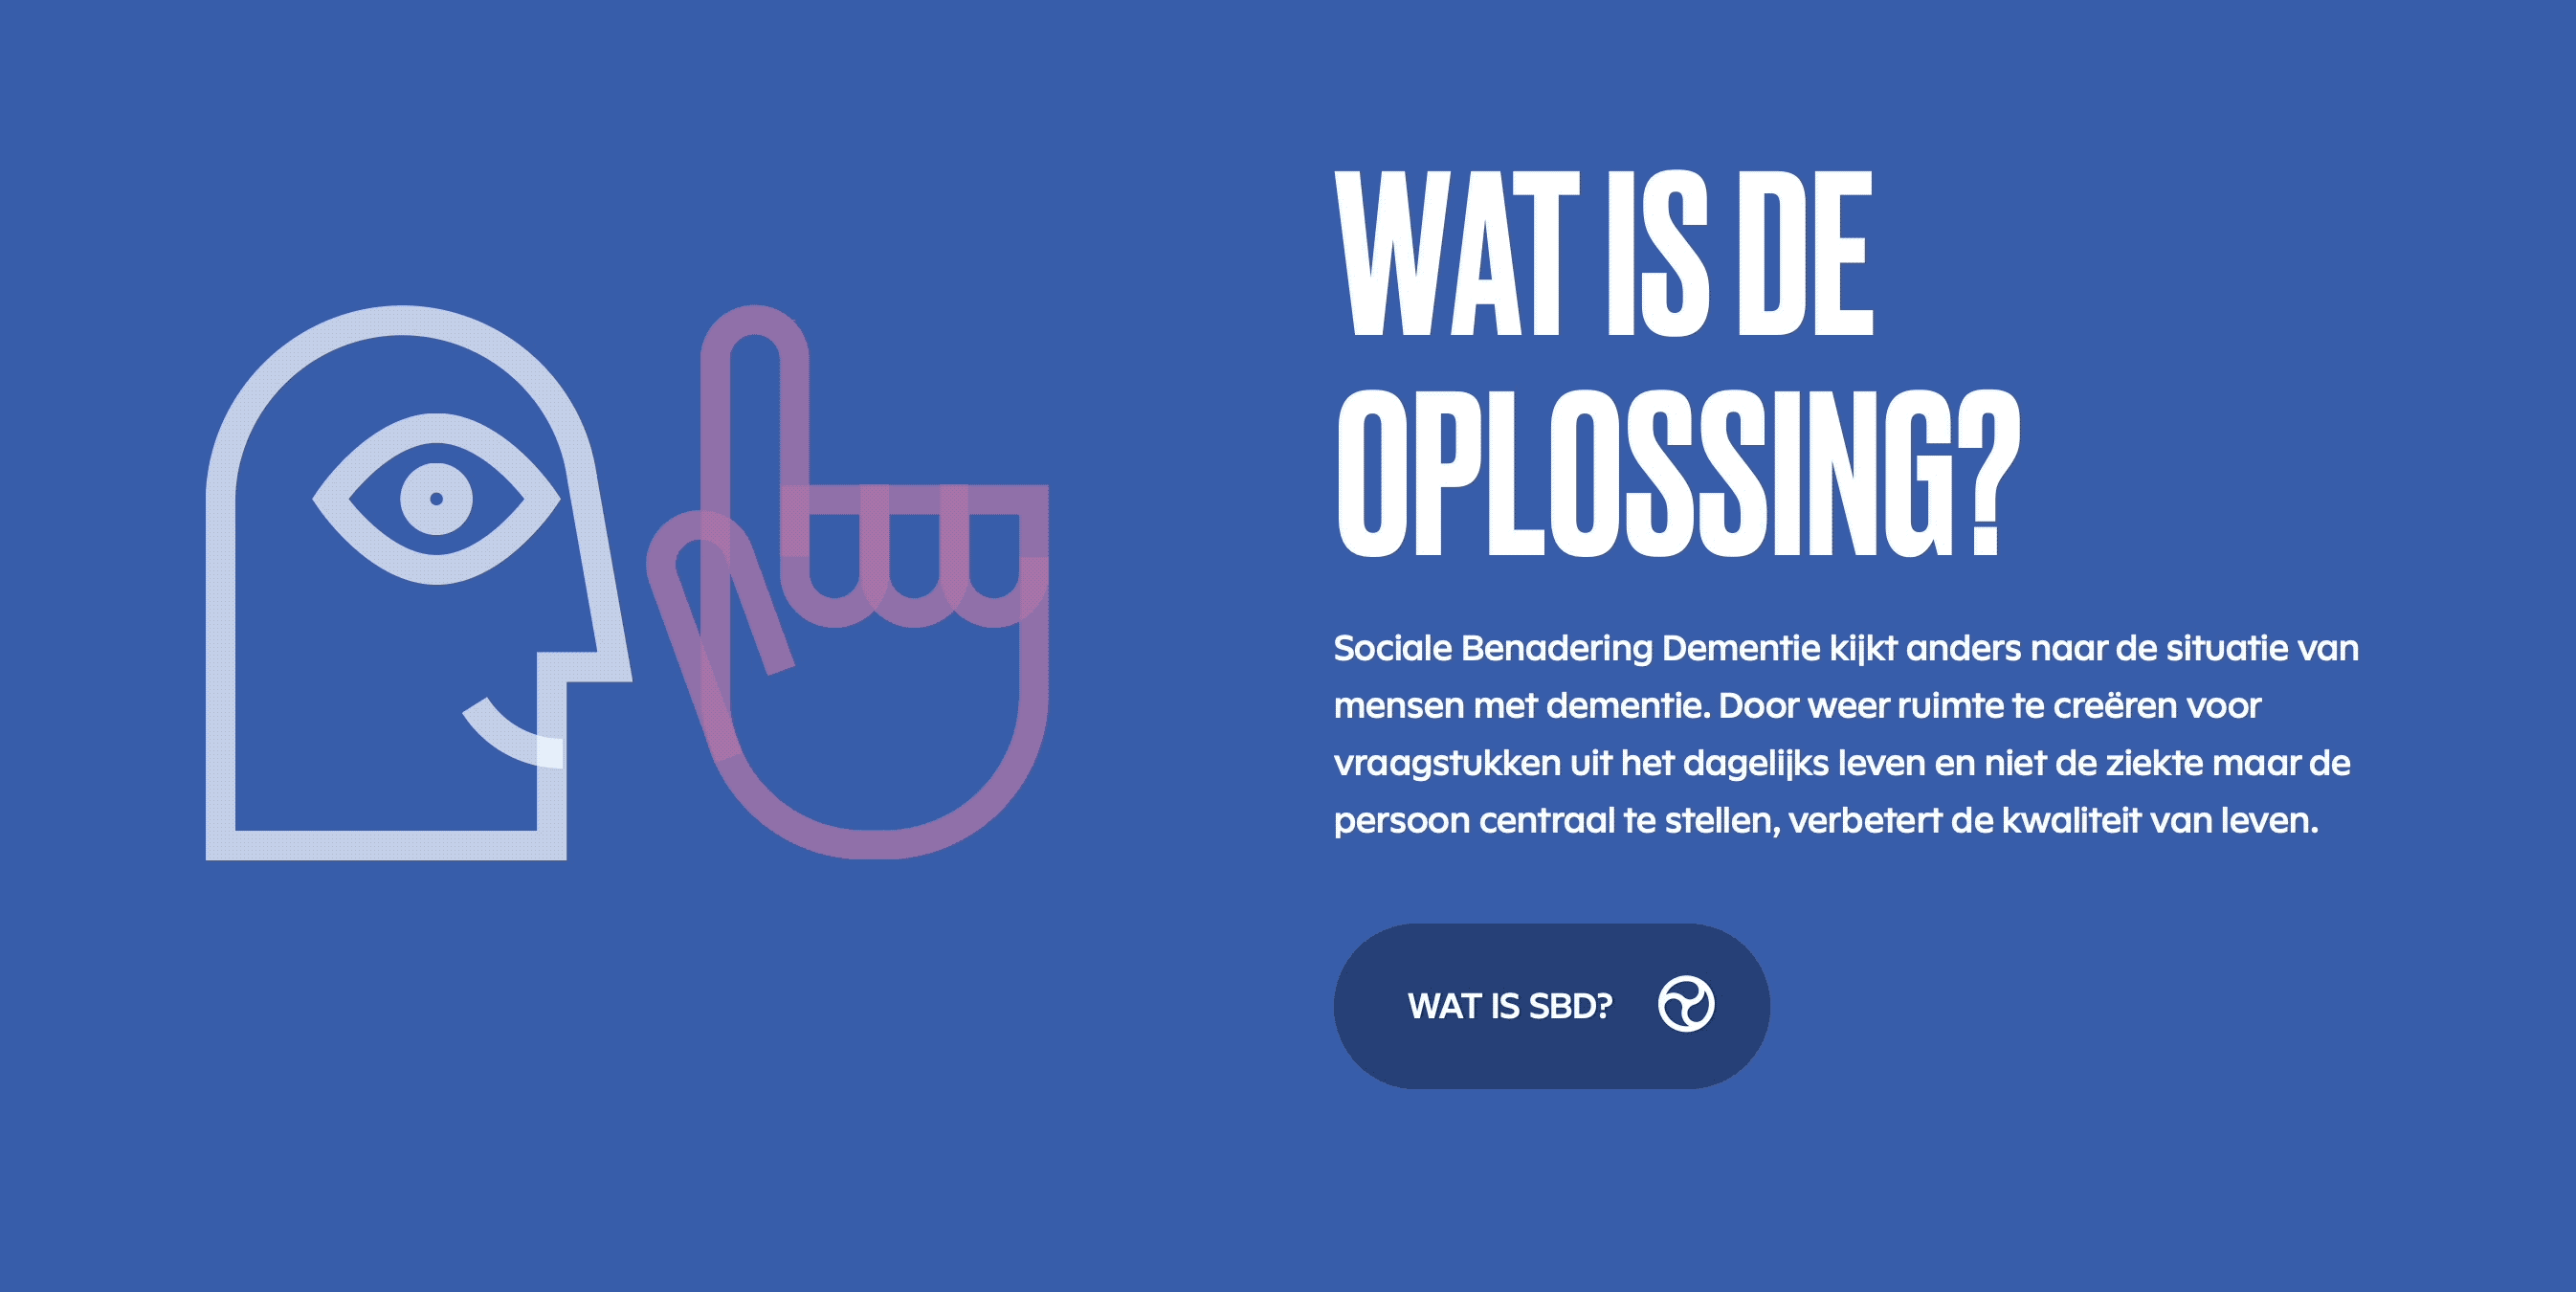
Lottie is an open source animation file format based on vector graphics. Motion designers can export them and hand them off to editors. But how do you use them together with a CMS like Statamic? This article explores the methods I use on my websites. The examples here come from Social Approach Dementia: a website featuring lots of Lottie animations.
Install the Lottie web player
The first thing we need to do is run npm i lottie-web to install the Lottie Web Player and add it to our package.json file. When you're using Peak open resources/js/site.js and import and init Lottie. Make sure to attach Lottie to the window object so Alpine can reference it all throughout your components.
1import Alpine from 'alpinejs'2import lottie from 'lottie-web'3 4// Init Lottie5window.lottie = lottie6 7// Init Alpine8window.Alpine = Alpine9Alpine.start()Customisable animations
In my case the websites that use Lottie files are being edited by an agency. The same agency that creates the animations in the first place. So I'd like to give them the tools to update and change animation files. Therefore I created an asset container called Animations in which they can upload their Lottie files and where they can reference the animations from their page builder.
1title: Animations2disk: animations3allow_uploads: true4allow_downloading: true5allow_renaming: true6allow_moving: true7create_folders: falseFrom now on I can reference this container in any fieldset where an animation should be present. In the following example I load in the common asset field from Peak and explicitly override the configuration.
1- 2 handle: animation 3 field: common.image 4 config: 5 container: animations 6 restrict: true 7 display: 'Lottie animation file' 8 width: 50 9 instructions: 'This should be a *.json* file.'10 instructions_position: belowRendering the animation
Now we have a field called animation in our fieldset it's time to hook it all up. We'll create a new Alpine object using x-data. Upon the initialising of our component Alpine will call lottie.loadAnimation() and attach an animation to the current element. The animation will loop and autoplay. The animation being used is the animation our client uploaded at the animation field.
1<figure 2 x-data="{ animation: '' }" 3 x-init=" 4 lottie.loadAnimation({ 5 container: $el, 6 renderer: 'svg', 7 loop: true, 8 autoplay: true, 9 path: '{{ animation }}'10 })11 "12 aria-hidden="true"13>14</figure>With some styling and the right animations this is what you could end up with.

We can do more advanced things. For example let's say you want to use an animation in a button and only have it triggered when the user hovers that button. In this case we can attach the animation to an animation object and call play() and stop() methods on it.
1<button 2 x-data="{ animation: '' }" 3 x-init=" 4 animation = lottie.loadAnimation({ 5 container: $refs.animation, 6 renderer: 'svg', 7 loop: true, 8 autoplay: false, 9 path: '{{ animation }}'10 })11 "12 @mouseover="animation.play()"13 @mouseleave="animation.stop()"14>15 <figure16 x-ref="animation"17 aria-hidden="true"18 ></figure>19</button>And that will end up with the following effect.
But what if you want to scrub the animation by scrolling the current page? Lottie's got you covered using lottie-interactivity. Make sure to install it by running npm install --save @lottiefiles/lottie-interactivity and to properly include it in your project like so.
1import Alpine from 'alpinejs' 2import lottie from 'lottie-web' 3import { create } from '@lottiefiles/lottie-interactivity'; 4 5// Init Lottie 6window.lottie = lottie 7window.create = create 8 9// Init Alpine10window.Alpine = Alpine11Alpine.start()With this in place we can inform Lottie upon which element on your page the animation should start. Unfortunately we also need to know the amount of frames the animation contains from beginning to end. I haven't found a way to dynamically request this from the Lottie player. However you can easily get this information by uploading your animation to Lottie Files. In this case I'm using a field called frames that the editor has to provide together with the animation file.
In this example we have a section with the class animation-container-class. We instruct create() to stretch the animation from the start and top of this element. Other important configuration is the following:
visibility: an array that refers to the percentage of the viewport the animation should start/stop.type: we just use seek as in our case we're going from start to finish. If you want to add more complex steps to your animation you can also useplay,stopandloop.frames: make sure the ending frame is the frame where the animation should stop. In our case the last frame of the full animation.
1<section class="animation-container-class"> 2 <figure 3 x-data="{ animation: '' }" 4 x-init=" 5 animation = lottie.loadAnimation({ 6 container: $el, 7 renderer: 'svg', 8 autoplay: false, 9 loop: false,10 path: '{{ animation }}'11 }),12 create({13 mode: 'scroll',14 player: animation,15 container: '.animation-container-class',16 actions: [17 {18 visibility: [0, .1],19 type: 'seek',20 frames: [0, 0],21 },22 {23 visibility: [.1, .9],24 type: 'seek',25 frames: [0, {{ frames }}],26 },27 ],28 })29 "30 aria-hidden="true"31 >32 </figure>33</section>And that will end you up with something like this.

And that's how to dynamically add animations to your Statamic site using Lottie and Alpine. If you have any questions or thoughts please let me know.